

Vue前端添加水印功能(附源码)
文章目录
- 概要
- 技术细节
- 附上几张调整的结果图
- 这么优秀的文章,要个赞不过分叭~👍👍👍👍
概要
前端Vue在页面添加水印,且不影响页面其他功能使用,初级代码水准即可使用,且有防人修改或者删除功能,内已有现成配置项,可自行改造优化!
提示:适用于Vue,组件已经封装开箱即用,有对应配置项!
技术细节
- 需要展示水印的界面这里以demo.vue为例 引入核心文件(组件) waterMask.vue ,直接复制粘贴即可
// watermask类名不能省略, 此类名组件有检测,即使人为删除也会重新创建,提高安全性import waterMask from './waterMark.vue'; // 文件在同级下 export default { components: {waterMask}, }- 引入核心文件(组件) waterMask.vue,和 demo.vue 位于同级下,所有的属性修改都在 data=>initProps下 不用在意怎么实现,直接复制粘贴即可,做一个合格的CV工程师
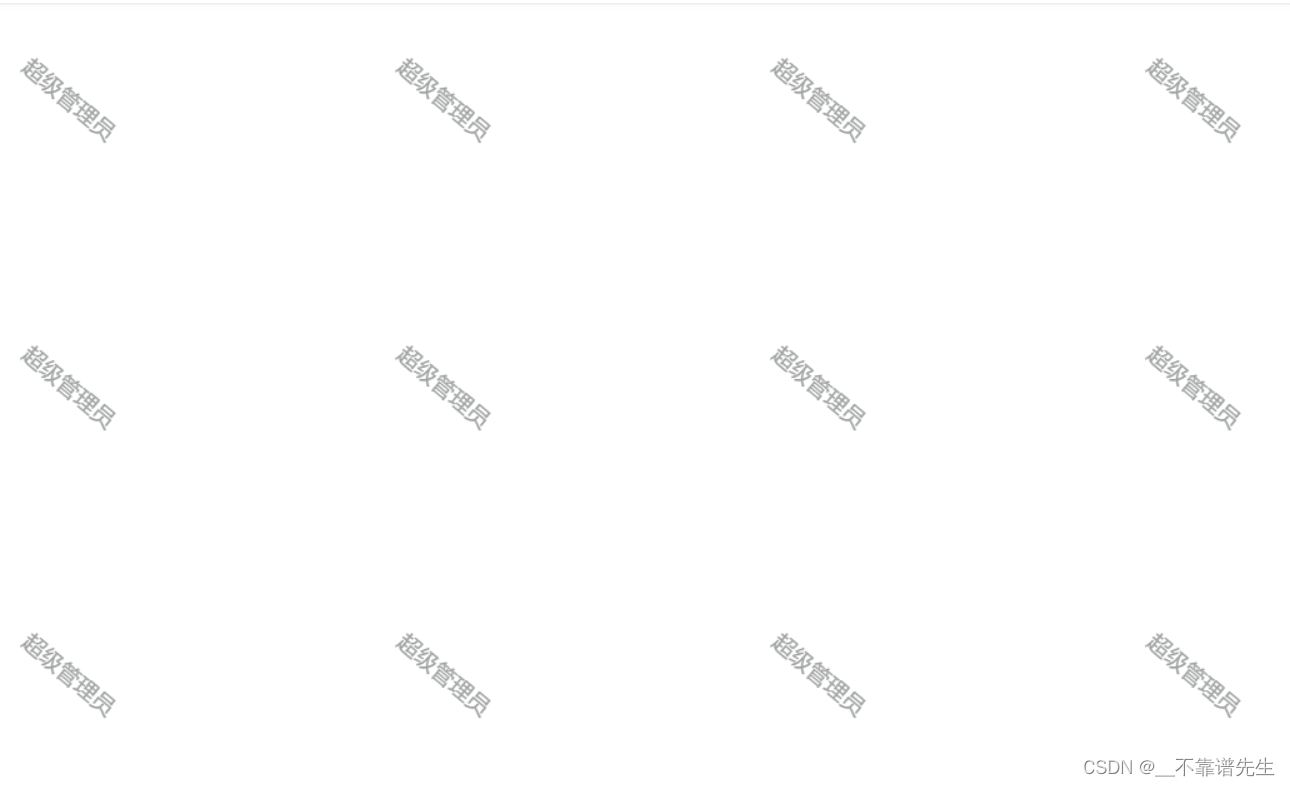
export default {
    props: {
        //是否允许通过js或者开发者工具等途径修改水印DOM节点(水印的id,attribute属性,节点的删除)
        //true为允许,默认不允许
        inputAllowDele: {
            type: Boolean,
            default: false
        },
        //是否在销毁组件时去除水印节点(前提是允许用户修改DOM,否则去除后会再次自动生成)
        // true会,默认不会
        inputDestroy: {
            type: Boolean,
            default: false
        }
    },
    data() {
        return {
            drawer: true,
            maskDiv: {}, //当前显示的水印div节点DOM对象
            initProps: {
                inputText: "超级管理员",               //显示的水印文本
                width: "300",               // 单个水印的宽度
                height: "230",               // 单个水印的宽度
                fillStyle: 'rgb(112, 113, 114, 0.2)',    // 水印颜色
                rotateNumber: 40,                  // 旋转角度
                zIndex: "3000",              // 水印的层级
            }
        }
    },
    mounted() {
        //确认DOM渲染后再执行
        this.$nextTick(() => {
            //创建水印节点
            this.init()
            if (!this.inputAllowDele) {
                // 设置水印节点修改的DOM事件
                this.Monitor()
            }
        })
    },
    methods: {
        init() {
            let canvas = document.createElement('canvas')
            canvas.id = 'canvas'
            canvas.width = this.initProps.width  //单个水印的宽高
            canvas.height = this.initProps.height
            this.maskDiv = document.createElement('div')
            let ctx = canvas.getContext('2d')
            ctx.font = 'normal 18px Microsoft Yahei' //设置样式
            ctx.fillStyle = this.initProps.fillStyle //水印字体颜色
            ctx.rotate(this.initProps.rotateNumber * Math.PI / 180) //水印偏转角度
            //  第二个参数 下移 的参数
            ctx.fillText(this.initProps.inputText, 70, 20);
            let src = canvas.toDataURL('image/png')
            this.maskDiv.style.position = 'fixed'
            this.maskDiv.style.zIndex = this.initProps.zIndex //  水印的层级
            this.maskDiv.id = '_waterMark'
            this.maskDiv.style.top = '80px'
            this.maskDiv.style.left = '480px'
            this.maskDiv.style.width = '80%'
            this.maskDiv.style.height = '100%'
            this.maskDiv.style.pointerEvents = 'none'
            this.maskDiv.style.backgroundImage = 'URL(' + src + ')'
            document.getElementsByClassName('watermask')[0].appendChild(this.maskDiv);
            // 水印节点插到body下
            // document.body.appendChild(this.maskDiv)
        },
        Monitor() {
            let body = document.getElementsByClassName('watermask')[0]
            // let body = document.getElementsByTagName('body')[0]
            let options = {
                childList: true,
                attributes: true,
                characterData: true,
                subtree: true,
                attributeOldValue: true,
                characterDataOldValue: true
            }
            let observer = new MutationObserver(this.callback)
            observer.observe(body, options)  //监听父节点, 强制删除则重新创建
        },
        //DOM改变执行callback
        callback(mutations, observer) {
            //当attribute属性被修改
            if (mutations[0].target.id === '_waterMark') {
                this.removeMaskDiv()
            }
            //当id被改变时
            if (mutations[0].attributeName === 'id') {
                this.removeMaskDiv()
                this.init()
            }
            //当节点被删除
            if (mutations[0].removedNodes[0] && mutations[0].removedNodes[0].id === '_waterMark') {
                this.init()
            }
        },
        /* public */
        //手动销毁水印DOM
        removeMaskDiv() {
            // document.body.removeChild(this.maskDiv)
            document.getElementsByClassName('watermask')[0].removeChild(this.maskDiv)
        },
        //手动生成水印
        createMaskDiv() {
            this.init()
        }
    },
    watch: {
        //监听传入水印文本变化
        inputText() {
            this.$nextTick(() => {
                this.removeMaskDiv()
            })
        }
    },
    destroy() {
        //组件销毁时去除生成在body节点下的水印节点
        if (this.inputDestroy) {
            this.removeMaskDiv()
        }
    }
}


._waterMask {
    #settingBtn {
        position: absolute;
        bottom: 20px;
        right: 0;
        font-size: 35px;
    }
}
附上几张调整的结果图
- 灰色 0.2 透明度
- 调整颜色 & 透明度 & 密度

这么优秀的文章,要个赞不过分叭~👍👍👍👍
文章版权声明:除非注明,否则均为主机测评原创文章,转载或复制请以超链接形式并注明出处。
")

")
")
还没有评论,来说两句吧...