

【WEEK2】 【DAY1】The First MVC Program Using Annotations【English Version】
2024.3.4 Monday

Following the section 【WEEK1】 【DAY5】First MVC Program: Configuration File【English Version】
Contents
- 3.2. Using Annotations (not required for practical use as per section 3.1)
- 3.2.1. Create a new module named springmvc-03-hello-annotation and add web support
- 3.2.2. As Maven may have issues with resource filtering, we refine the configuration (web-pom.xml)
- 3.2.3. Introduce related dependencies in the pom.xml file
- 3.2.4. Configure web.xml
- 3.2.5. Add SpringMVC Configuration File
- 3.2.6. Create View Layer
- 3.2.7. Create HelloController
- 3.2.8. Configure Tomcat to Run
- 3.2.9. Summary
3.2. Using Annotations (not required for practical use as per section 3.1)
3.2.1. Create a new module named springmvc-03-hello-annotation and add web support
3.2.2. As Maven may have issues with resource filtering, we refine the configuration (web-pom.xml)
        SpringMVC_try1
        com.kuang
        1.0-SNAPSHOT

    4.0.0
    springmvc-03-hello-annotation

        8
        8
        UTF-8


                src/main/java

                    **/*.properties
                    **/*.xml

                false


                src/main/resources

                    **/*.properties
                    **/*.xml

                false
3.2.3. Introduce related dependencies in the pom.xml file
- Mainly includes core libraries of Spring framework, Spring MVC, servlet, JSTL, etc.
(Already included in the parent dependency: only check the Dependencies in the Maven sidebar)
3.2.4. Configure web.xml
- Add web support (see W1D2 1.3 Establish a module named springmvc-01-servlet, add support for Web app)
- Add lib dependencies (see W1D5 3.1.8. Configure Tomcat, Start Testing)
- Modify web-WEB-INF-web.xml
SpringMVC org.springframework.web.servlet.DispatcherServlet contextConfigLocation classpath:springmvc-servlet.xml 1 SpringMVC /- Points to note
- The difference between / and /: / does not match .jsp, it only targets our written requests; that is, .jsp does not enter Spring’s DispatcherServlet class. / matches *.jsp, which will result in the .jsp view entering Spring’s DispatcherServlet class again, leading to a 404 error because the corresponding controller cannot be found.
- Pay attention to the web.xml version, it must be the latest!
- Register the DispatcherServlet
- Associate the SpringMVC configuration file
- Set the startup level to 1
- Map the path to / 【Do not use /*, it will cause 404】
3.2.5. Add SpringMVC Configuration File
- Create a new springmvc-servlet.xml configuration file in the resource directory


The configuration is similar to that of the Spring container. To support IOC based on annotations, the package scanning feature is set up. The specific configuration information is as follows:
- Attention
- In the view resolver, we place all views in the /WEB-INF/ directory to ensure their security, since the files in this directory cannot be directly accessed by clients.
- Enable IOC annotations
- Static resource filtering: HTML, JS, CSS, images, videos, etc.
- MVC annotation-driven
- Configuring view resolver
3.2.6. Create View Layer
- Create a ->jsp folder under web->WEB-INF, then create a file named hello.jsp
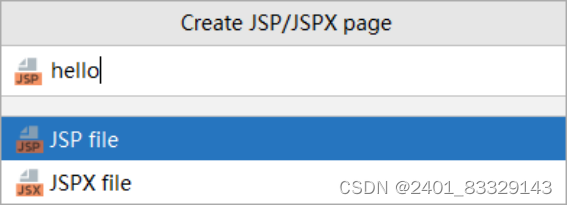
    Title Appears Here


${msg}
Reference link: HTML中的head和body标签及作用
2. EL Expressions
(图片来源网络,侵删)Expression Language can retrieve values or objects stored in the Model.
EL表达式
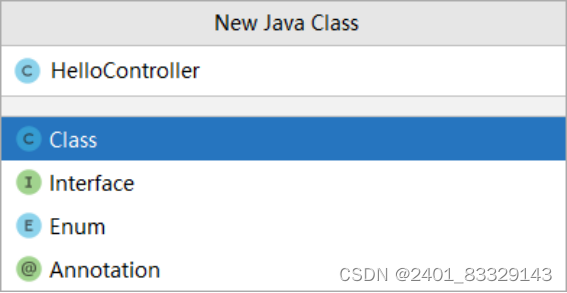
3.2.7. Create HelloController
- Create a file named HelloController.java in the src->main->java->com->kuang->controller folder
package com.kuang.controller; import org.springframework.stereotype.Controller; import org.springframework.ui.Model; import org.springframework.web.bind.annotation.RequestMapping; @Controller //Automatically assembled into the 15th line of springmvc-servlet.xml //@RequestMapping("/hello0")//If the address is written here, then all the following continue to concatenate the specific path under this address public class HelloController { // This is a request mapping, if you want multiple requests, you need to write multiple methods (from the start of @RequestMapping() until the method ends) //If the 8th line takes effect, then the real path would be localhost:8080/hello0/hello @RequestMapping("/hello") //The real access address "project name->HelloController->hello": This is to jump to hello.jsp public String hello(Model model){ //Encapsulate data: add attribute 'msg' with value to the model, which can be retrieved and rendered in the JSP page model.addAttribute("msg","Hello, SpringMVC Annotation"); return "hello"; //After being assembled into springmvc-servlet.xml, it will be processed by the view resolver } }- Explanation
- @Controller is for Spring IOC container to automatically scan at initialization;
- @RequestMapping is for mapping the request path, since both the class and the method have mappings, the access path should be /HelloController/hello;
- Declaring a parameter of type Model in the method is to carry the data from the Action to the view;
- The result returned by the method is the name of the view ‘hello’, which becomes WEB-INF/jsp/hello.jsp with the prefix and suffix in the configuration file.
3.2.8. Configure Tomcat to Run
See W1D5 3.1.8. Configure Tomcat, Start Testing, launch the server, and access the corresponding request path.
http://localhost:8080/springmvc_03_hello_annotation_war_exploded/hello

3.2.9. Summary
- Implementation Steps
- Create a new web project
- Import relevant jar packages
- Write web.xml, register DispatcherServlet
- Write springmvc configuration file
- Next, create the corresponding controller classes
-Finally, perfect the correspondence between the front-end view and the controller
- Test, run, and debug
- The three essentials of using springMVC that must be configured
- Handler mapper, handler adapter, view resolver
- Usually, we only need to manually configure the view resolver, while the handler mapper and handler adapter can be activated simply by enabling annotation-driven, thus eliminating lengthy xml configuration
(图片来源网络,侵删)
- Create a ->jsp folder under web->WEB-INF, then create a file named hello.jsp
- Create a new springmvc-servlet.xml configuration file in the resource directory
- Mainly includes core libraries of Spring framework, Spring MVC, servlet, JSTL, etc.


")
")
")
")
还没有评论,来说两句吧...